Garmin Bike Speed And Cadence Sensor Manual
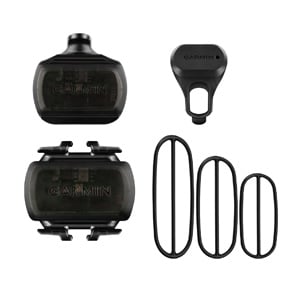
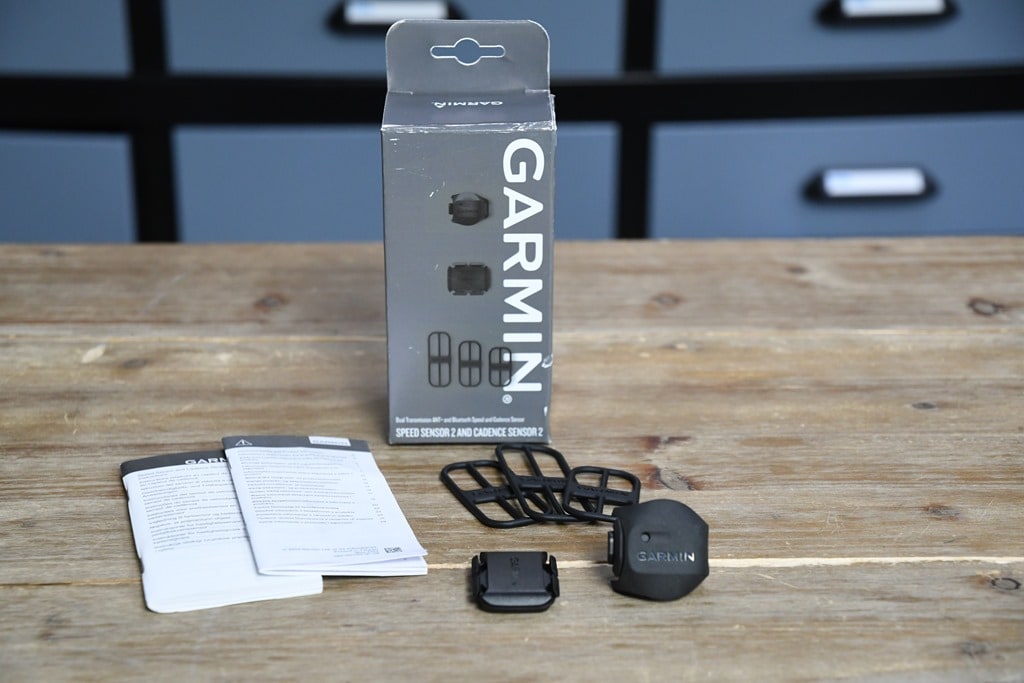
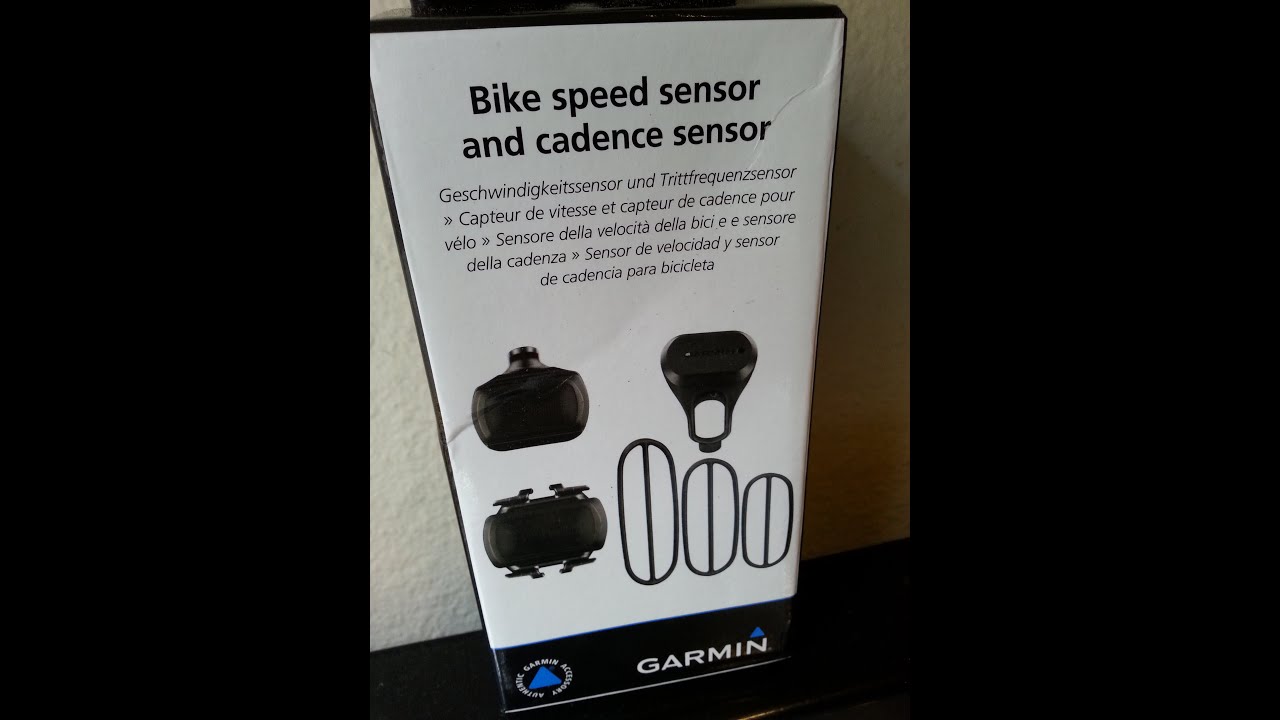
Bike Speed Sensor And Cadence Sensor Garmin
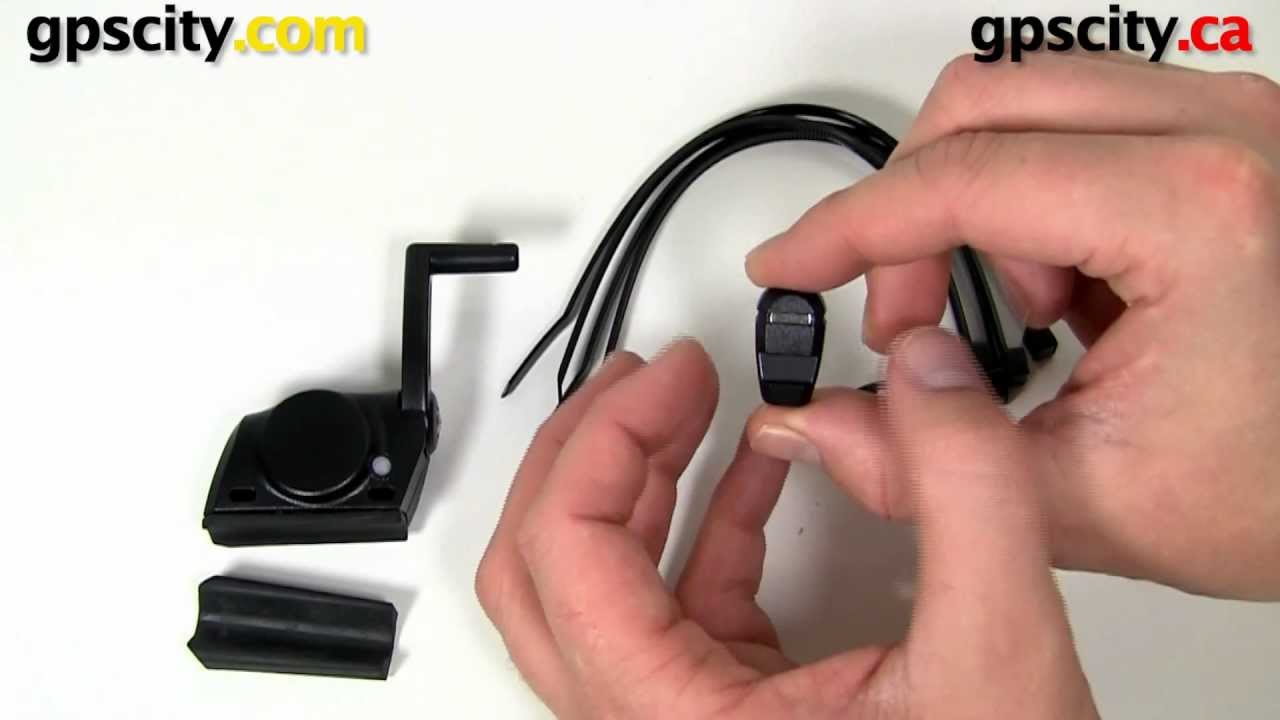
Garmin Speed And Cadence Sensor Overview At Gpscity Com Youtube
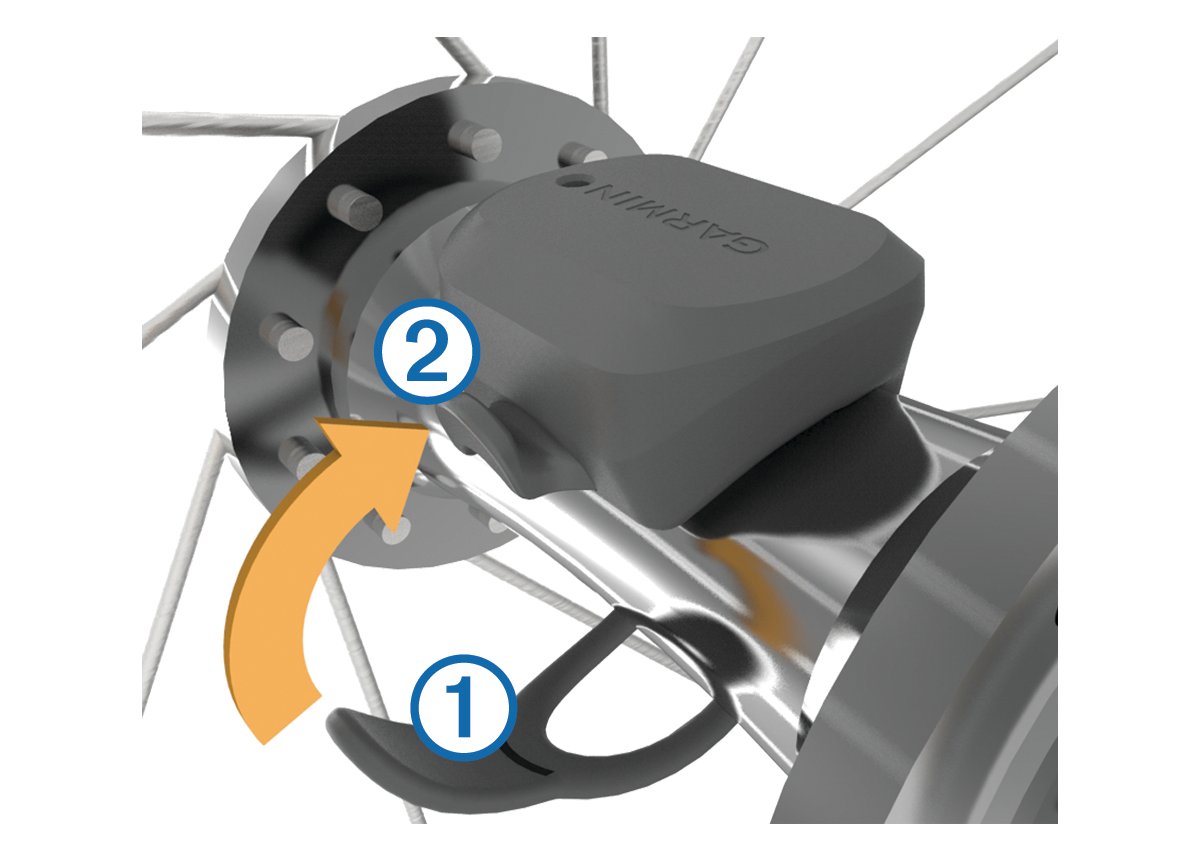
Speed Sensor And Cadence Sensor Instructions Installing The Speed Sensor
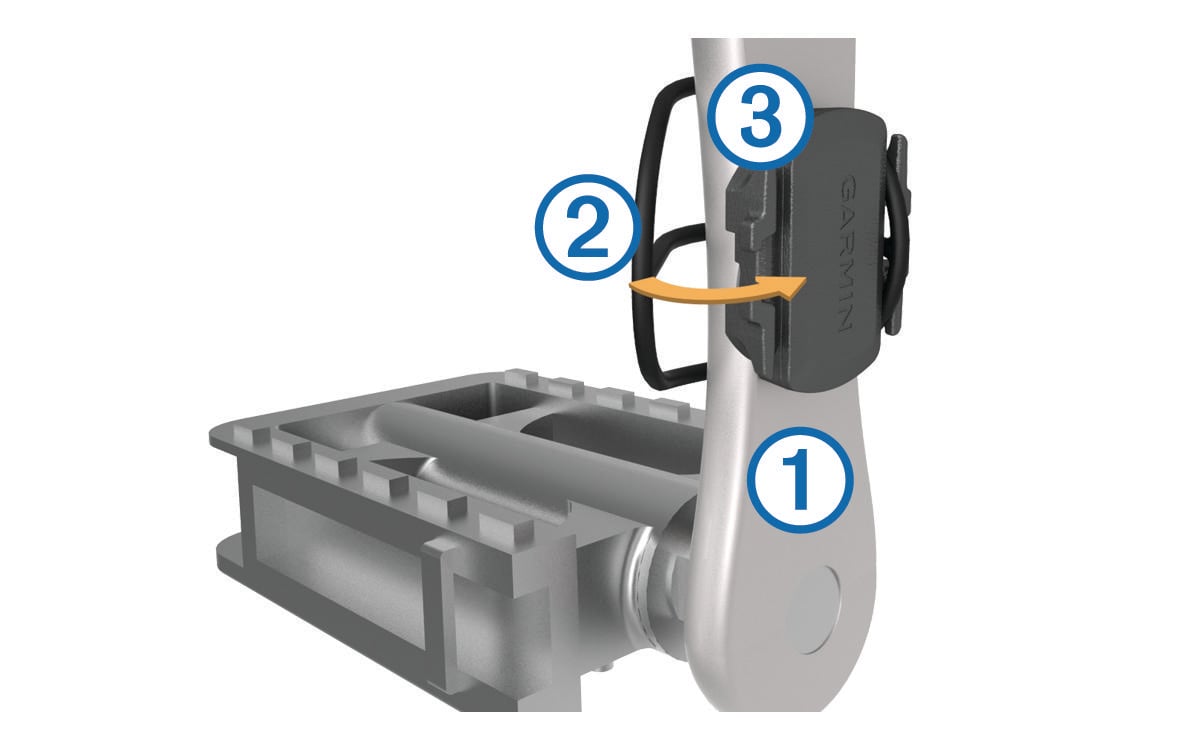
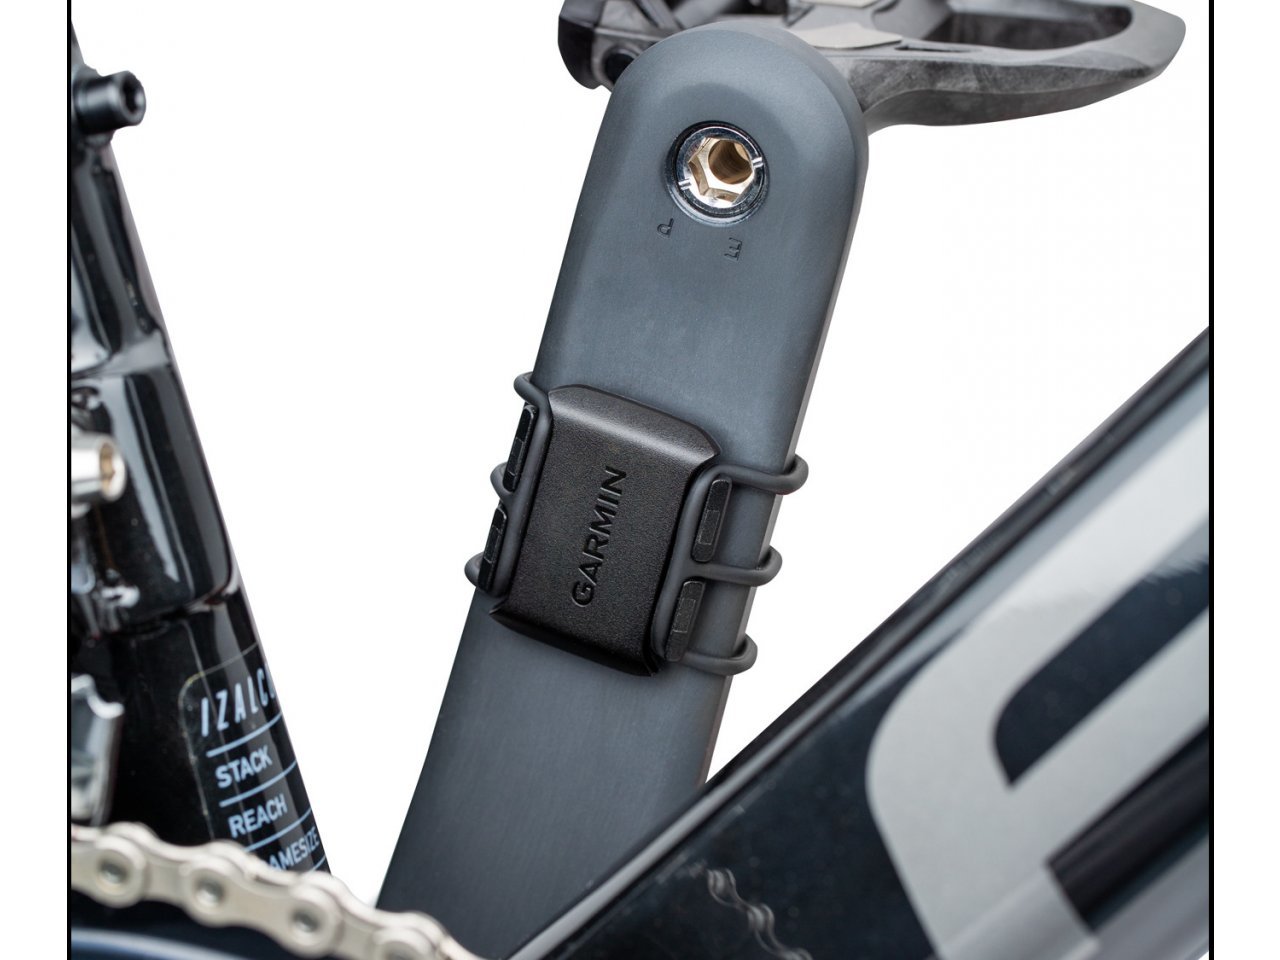
Speed Sensor And Cadence Sensor Instructions Installing The Cadence Sensor

Garmin Edge25 Bundle Garmin Garmin Edge Garmin Edge 25

Speed Sensor And Cadence Sensor Instructions Replacing The Speed Sensor Or Cadence Sensor Battery
Replacing the speed sensor or cadence sensor battery the led flashes red to indicate a low battery level after two revolutions.
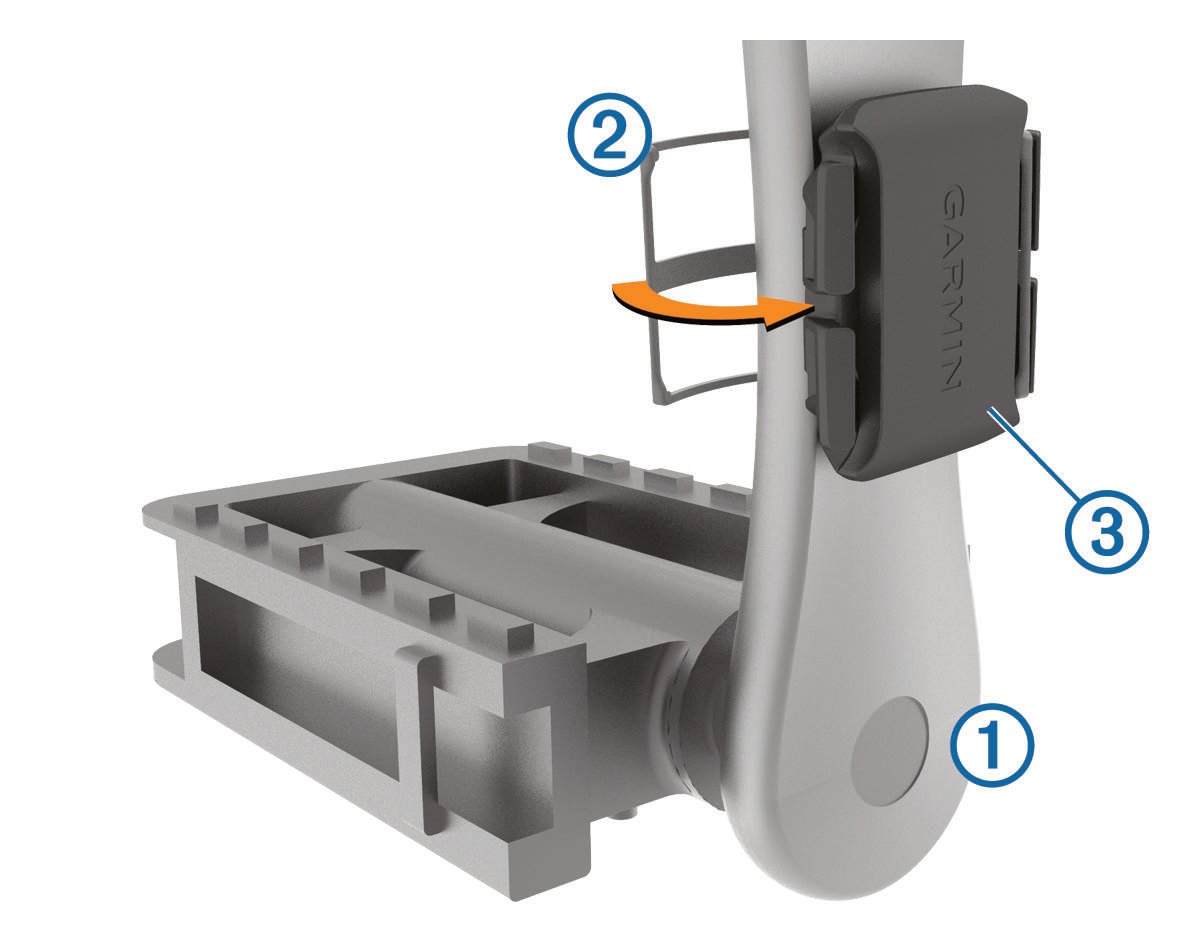
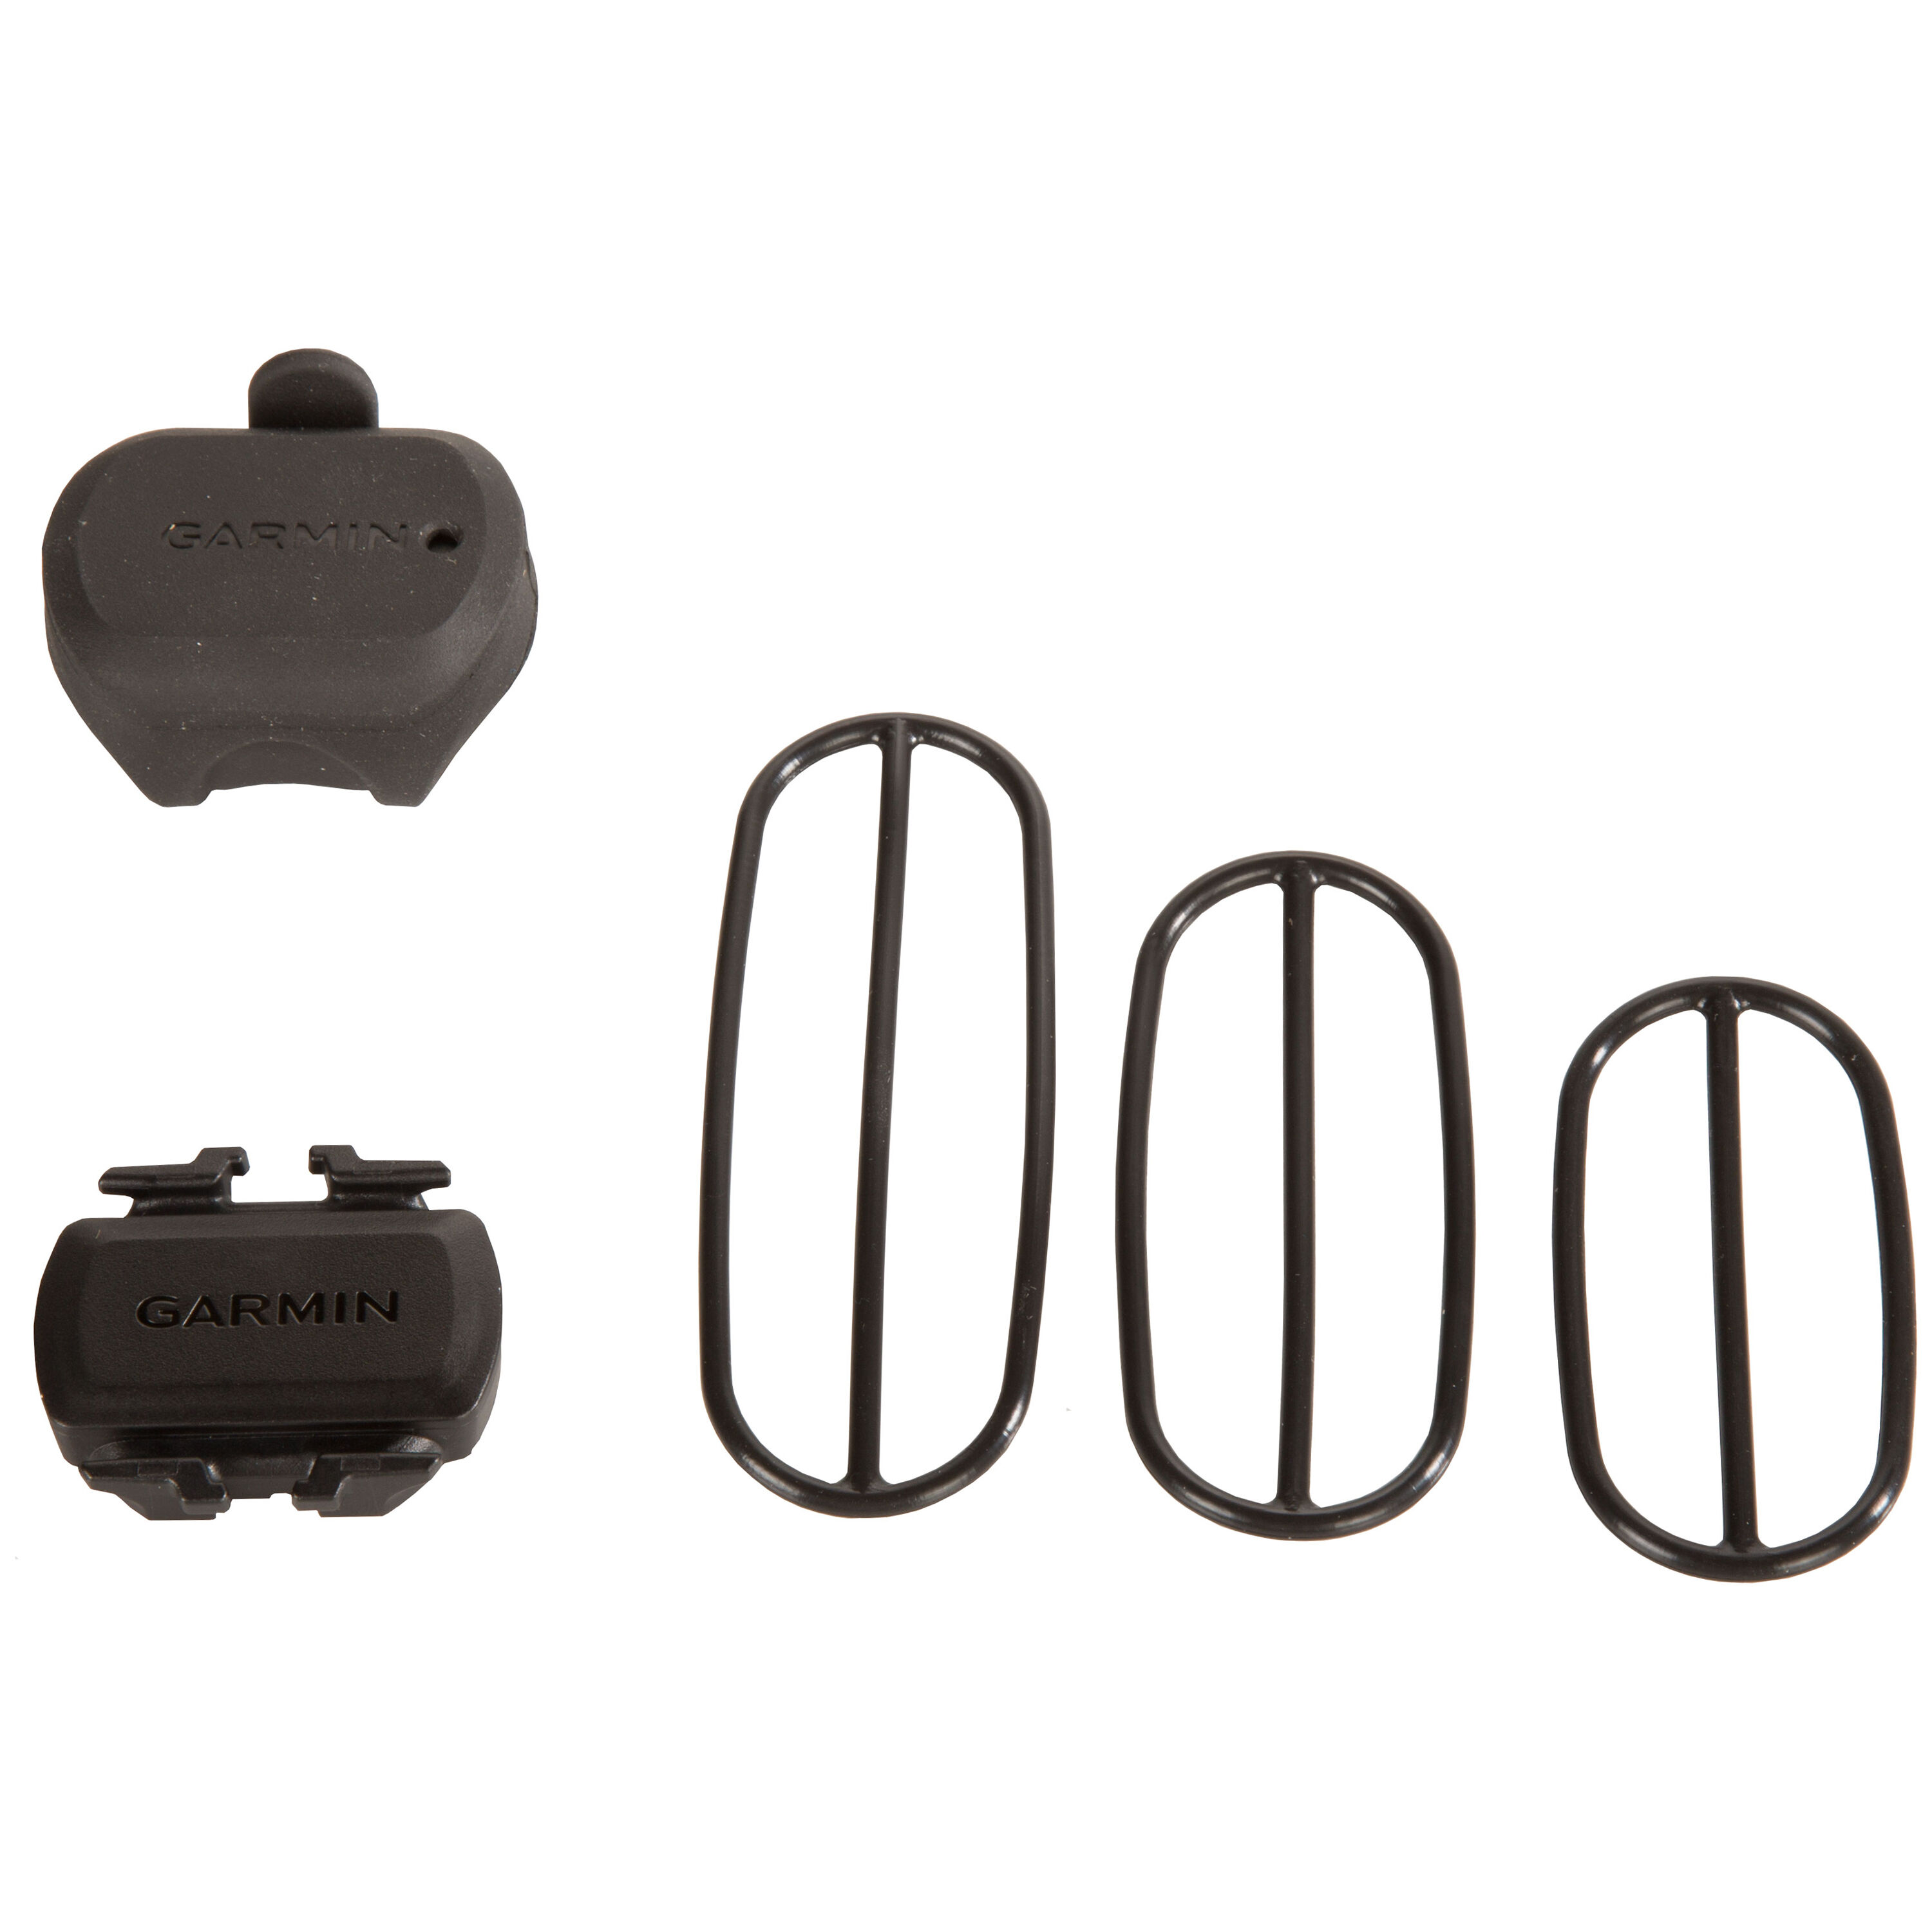
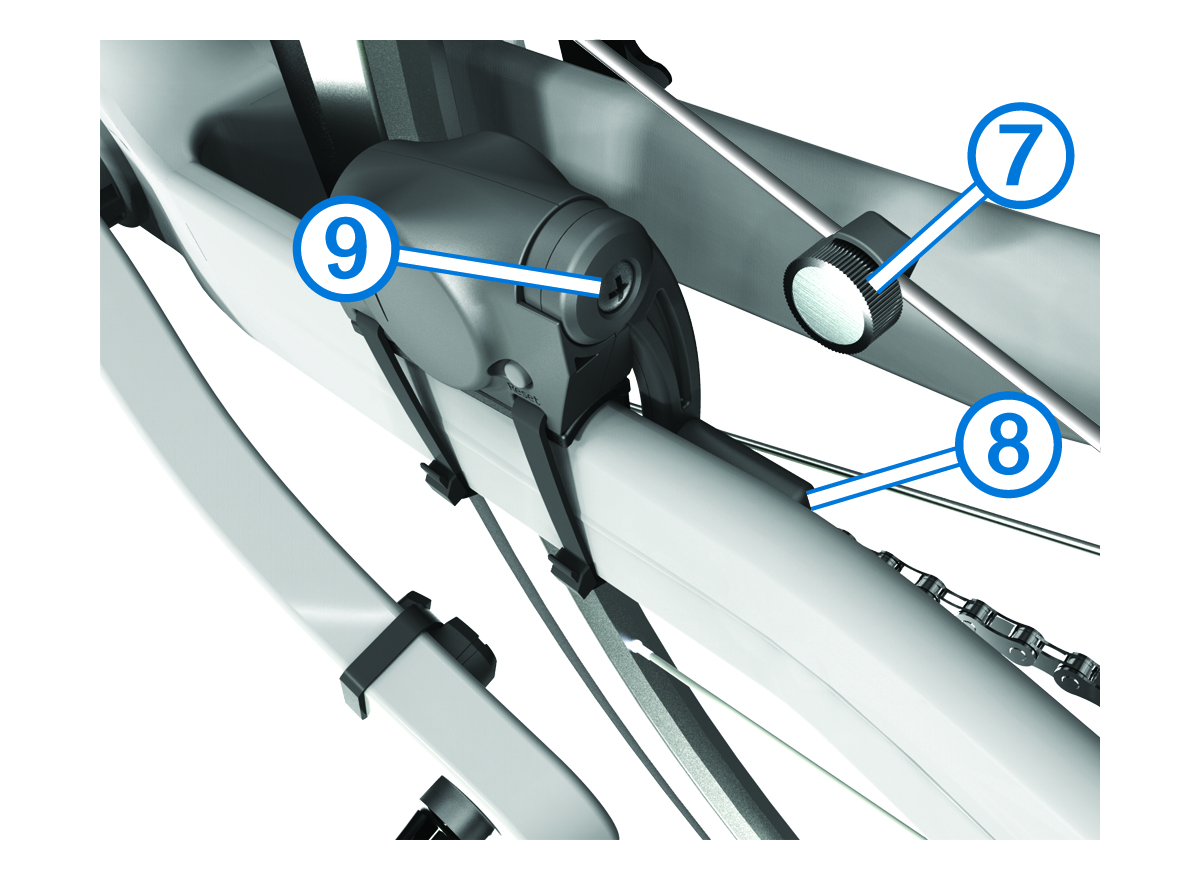
Garmin bike speed and cadence sensor manual. The speed sensor attaches to the hub of either wheel and self calibrates with your edge to give you accurate speed and distance at all times including indoors on the turbo trainer. On the non drive side place and hold the flat side of the cadence sensor on the inside of the crank arm. Pull the bands around the crank arm and attach them to the hooks on the sensor. Installing the cadence sensor.
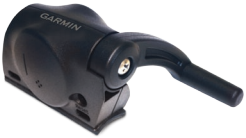
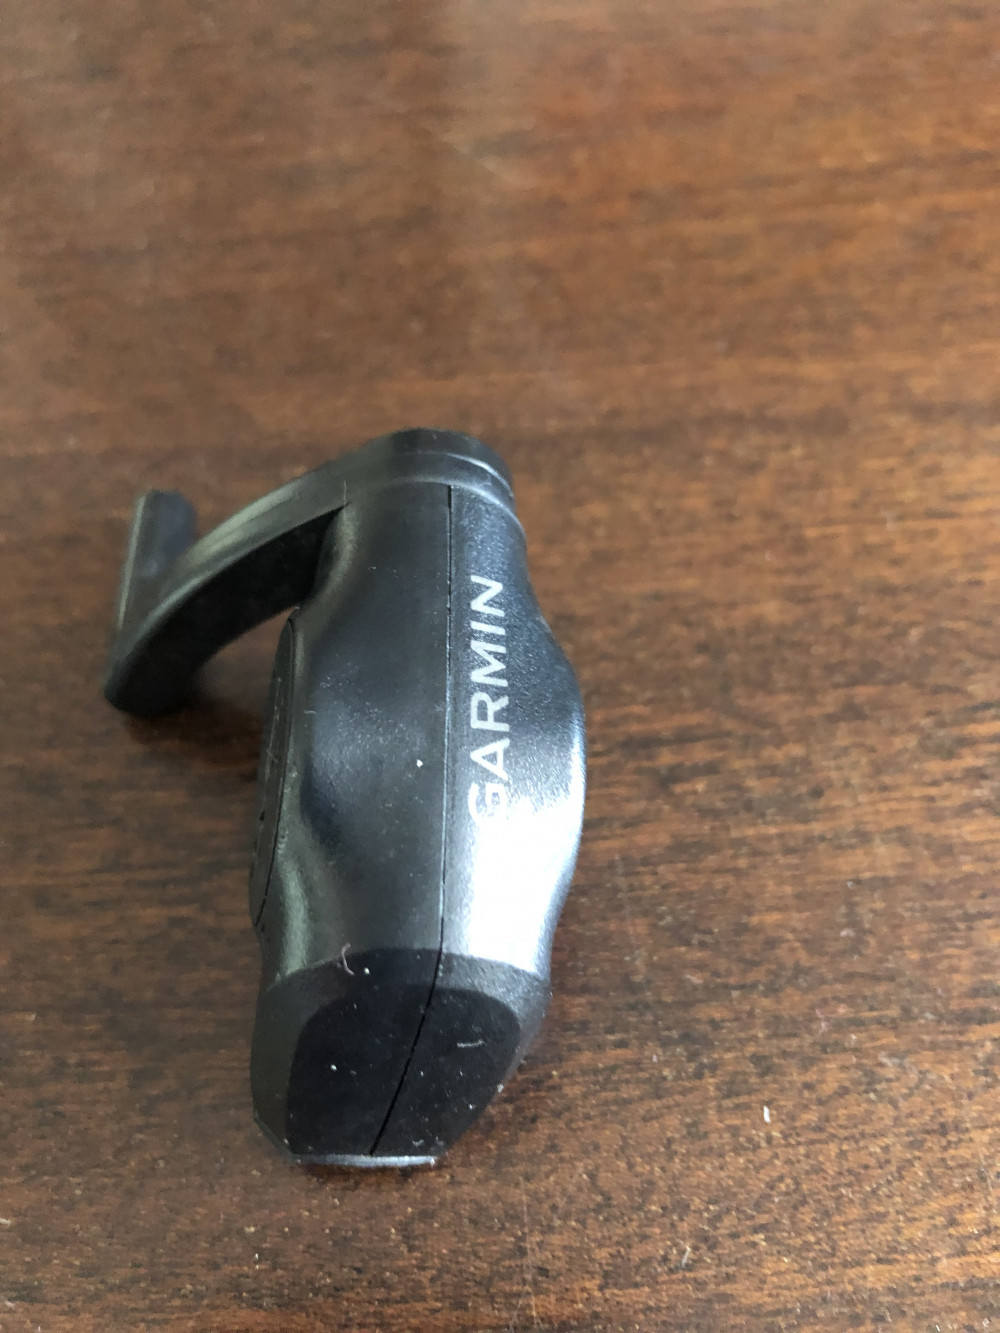
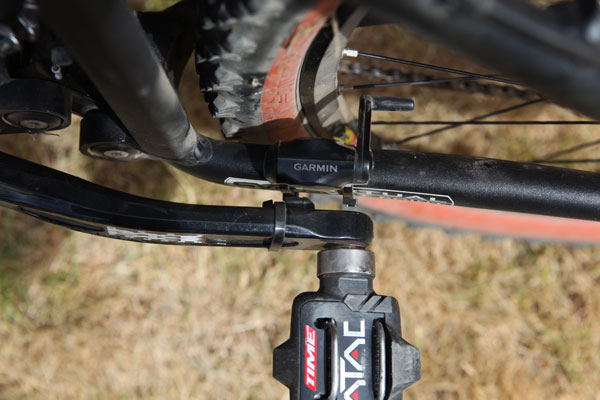
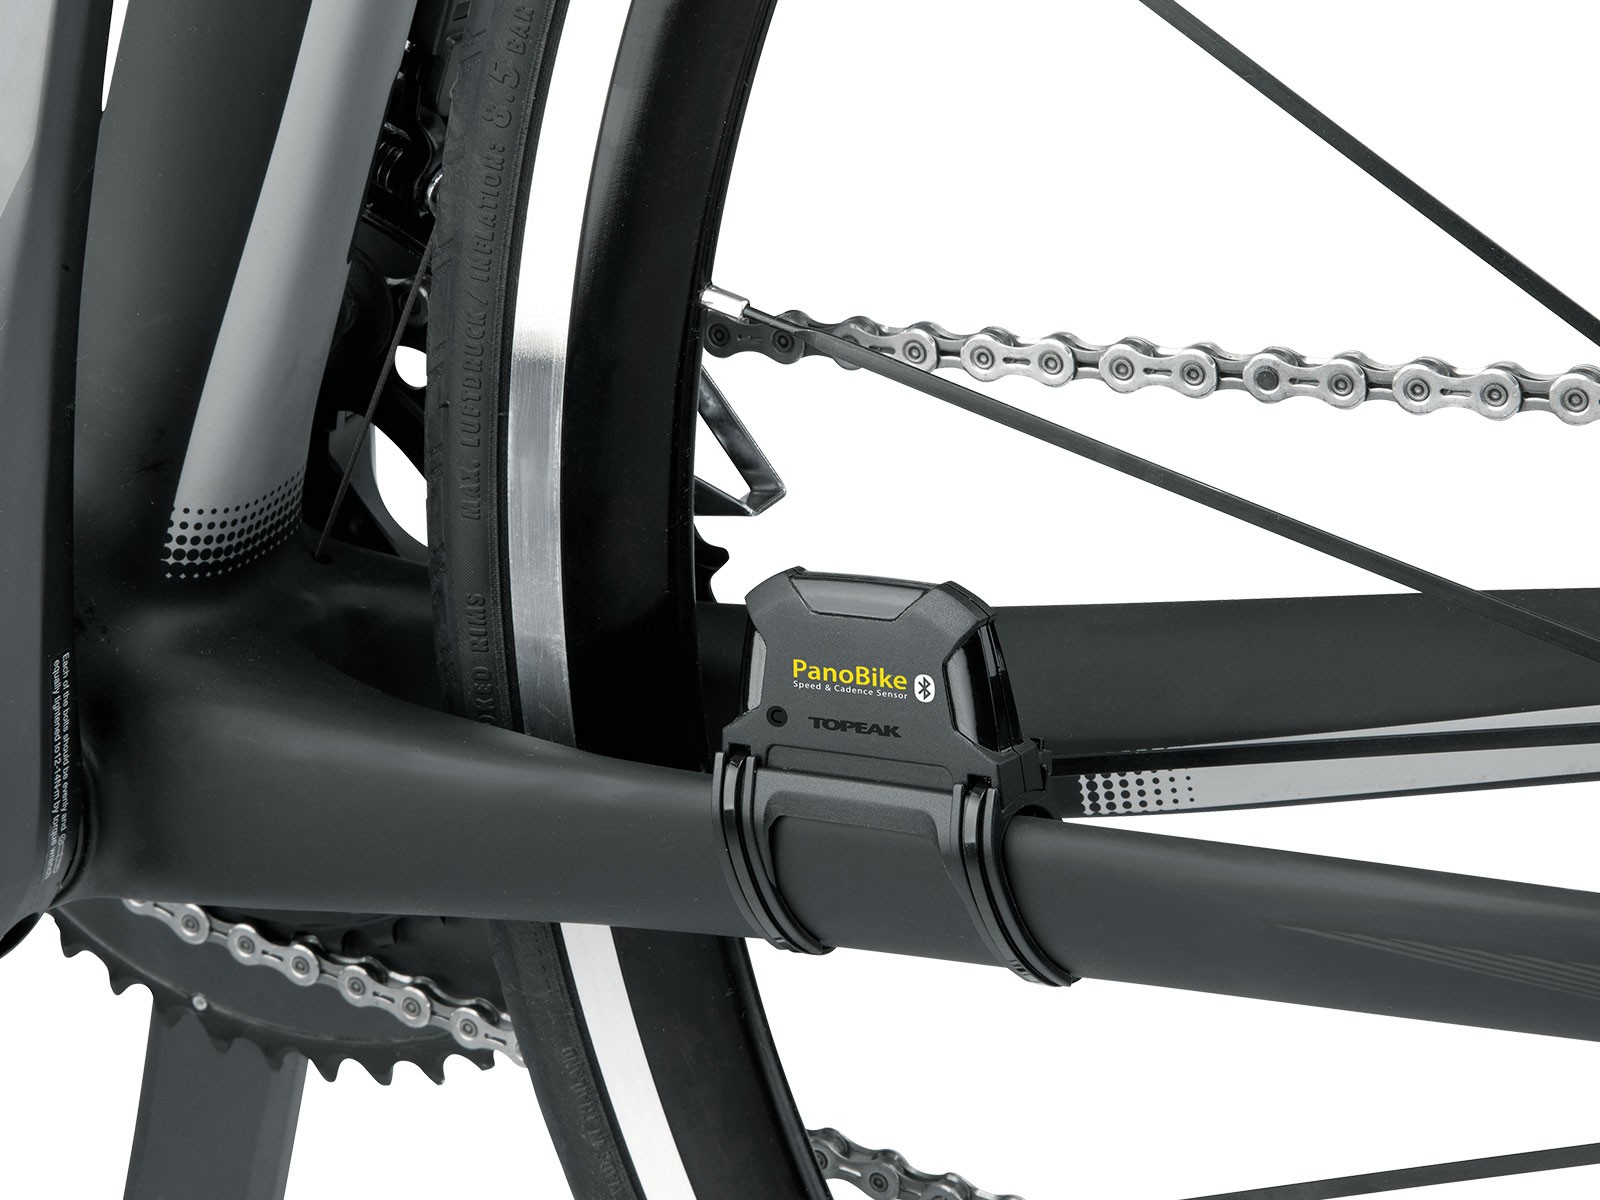
Installing the speed sensor. The sensor and bands should not contact any part of your bike or shoe. Send live speed distance and cadence data to compatible training apps or displays by using ant connectivity and bluetooth low energy technology. Place and hold the speed sensor on top of the wheel hub.
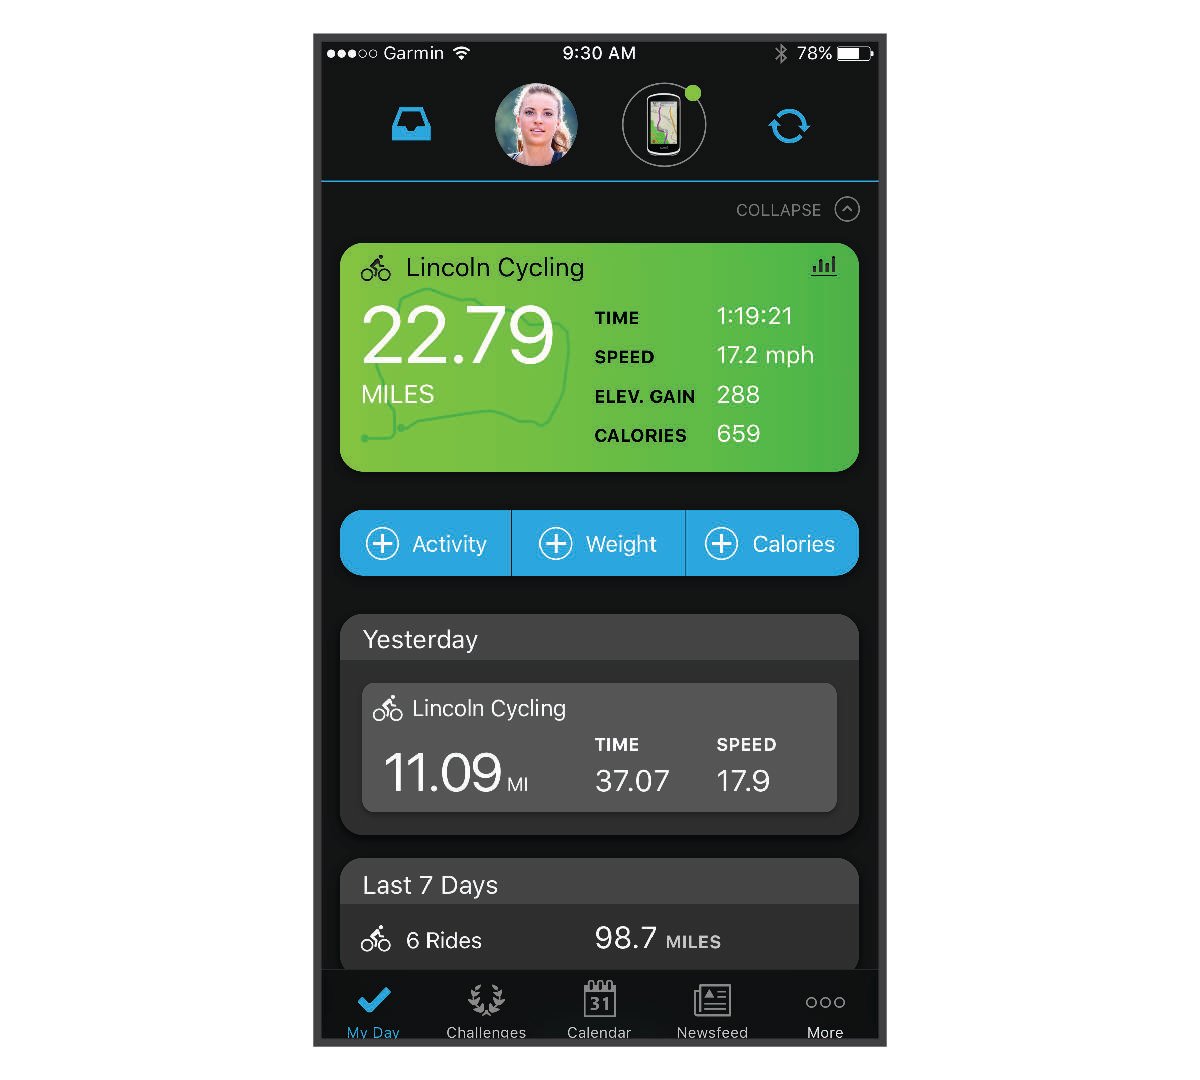
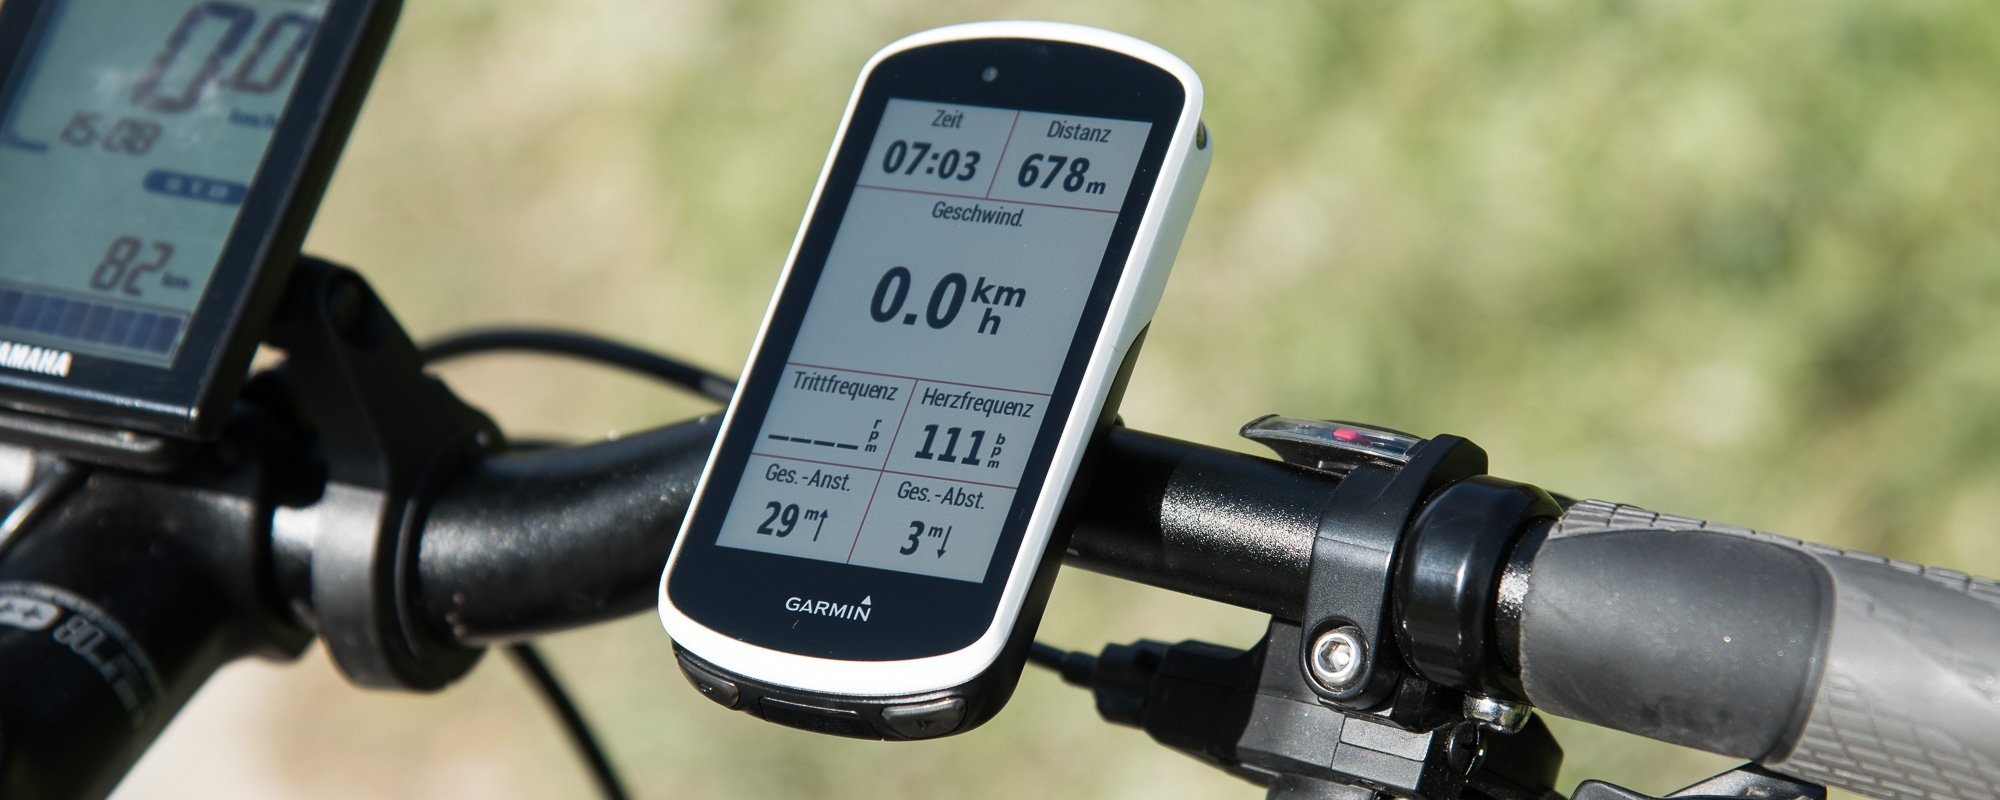
You can use a compatible bike speed or cadence sensor to send data to your device. You can use a compatible bike speed or cadence sensor to send data to your device. Set your wheel size wheel size and circumference. Go for a ride starting an activity.
Pull the strap around the wheel hub and attach it to the hook on the sensor. Set your wheel size calibrating your speed sensor. Pair the sensor with your device pairing your wireless sensors. Speed sensor and cadence sensor instructions.
Installing the speed sensor. Garmin recommends you secure your bike on a stand while installing the sensor. The cadence sensor 2 fastens to any size crank arm and measures pedal strokes per minute so you can get the most out of your training. The cadence sensor fastens to any crank arm size and measures pedal strokes per minute so you can get the most out of your training.
Locate the circular battery cover on the back of the sensor. If you do not have this sensor you can skip this task. Rotate the crank arm to check for clearance.
Garmin Speed And Cadence Sensor Accuracy Unboxing Amazon Manual Outdoor Gear Edge 1000 Battery Setup 810 Expocafeperu Com
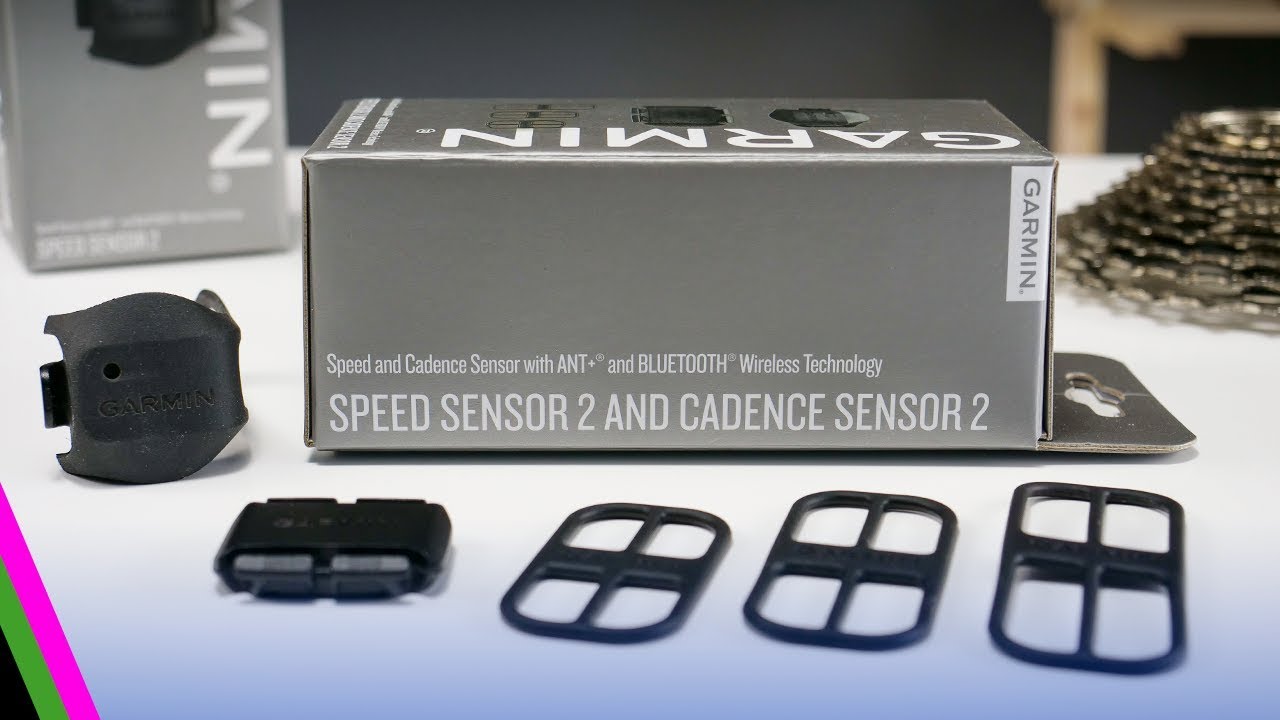
Garmin Speed Sensor 2 Cadence Sensor 2 In Depth Review Youtube
Speed Sensor 2 And Cadence Sensor 2 Installing The Cadence Sensor
Edge Devices And Speed And Cadence Sensor Compatibility Garmin Support
The Ant Bike Speed Cadence Sensor Everything You Ever Wanted To Know Dc Rainmaker

Pin On Bikes

Edge 1000 Garmin Garmin Edge 1000 Cycling Computer Garmin Edge
Garmin Cadence Sensor Installation With Gps City 010 12104 00 Youtube

Garmin Bike Speed Sensor 2 And Cadence Sensor 2 Bundle Rei Co Op

Garmin Gsc 10 Wireless Speed Cadence Sensor Manual

Garmin Fr70 Blue W Hr Tracks Time Heart Rate And Calories Optional Foot Pod For Distance And Speed Data Optional Speed Garmin Garmin Connect Things To Sell

غارمين غارمين أحدث سرعة الإيقاع الاستشعار النمل دراجة دراجة سرعة الاستشعار Fenix2 حافة 510 810 1000 رائد 920xt Vivosmart Bicycle Bike Garmin Bicycle

Garmin Fenix 3 Gray Bundle With Heart Rate Monitor And Bike Speed Sensor And Cadence Sensor More Info Coul Garmin Fenix Garmin Heart Rate Monitor

Garmin Fenix 6s Multisport Gps 42mm Silver Black Band Starter Bundle 01 753759232887 Ebay In 2020 Garmin Garmin Fenix Gps
How To Install Garmin Speed And Cadence Sensor Youtube
Garmin Speed Cadence Sensors V2 With Ant Bluetooth Smart In Depth Review Dc Rainmaker
Tutorial Speed And Cadence Sensor Installation And Pairing Youtube
Garmin Speed And Cadence Sensor Troubleshooting Dc Rainmaker Setup Pairing Outdoor Gear Bike Install 1 Edge 1000 Expocafeperu Com
1
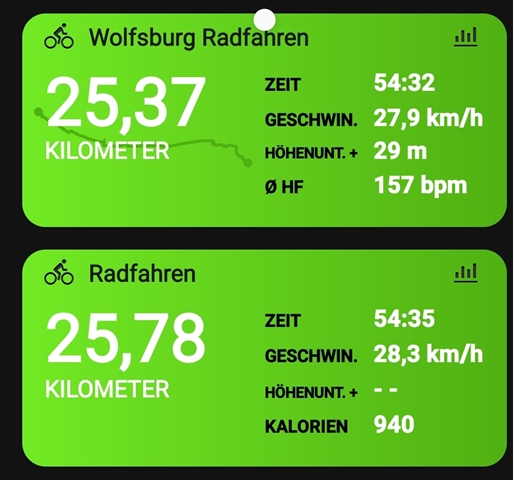
Bike Speed Sensor 945 Activities Doubled Despite Of Paired Forerunner 945 Running Multisport Garmin Forums

Pin On Garmin

New Garmin Speed Cadence Sensor 2 2020 Youtube

Racebike Tours Happy Biking Tours Bike Triathlon

15 Best Cycling Speed And Cadence Sensors 2020 Heavy Com
4 Cadence Speed Sensors For Iphone Android Reviews
Garmin 1030 Nachfolger Edge 2020 Inreach Mini Speed And Cadence Sensor Plans Gpsmap 64sc Forerunner Outdoor Gear 35 Manual Fenix 5 645 Music Expocafeperu Com
Garmin Speed And Cadence Sensor Not Working Pairing Instructions Fitting Outdoor Gear Bike Install Speed Cadence Gsc 10 Battery Expocafeperu Com

Http Mapinfo Org Garmin Speed Cadence Sensor Forerunner P 3261 Html Gps Units Garmin Geek Stuff
Bicycle Computer Cycling Cadence Sensor Ant Sensor Bike Speedometer Speed Cadence Sensor Bluetooth Compatible Garmin Bryton Bicycle Computer Ant Bicycle Computerspeed Cadence Sensor Aliexpress
Edge 810 Installing The Gsc 10

Pin On Cycling

Bersepeda Nirkabel Sepeda Komputer Speedometer Kecepatan Irama Sensor Bluetooth 4 0 Waterproof Mtb Bersepeda Dengan App Untuk S Smartphone Bluetooth Ordinateur
Garmin Edge 500 Review Fittechnica
Garmin Speed And Cadence Sensor Bluetooth Best Price Iphone Halfords Outdoor Gear Zwift How To Connect 2 Compatibility Expocafeperu Com

Heavy Duty Bike Motorcycle Mount For Garmin Nuvi Chargercity Electronic Accessories Garmin Gps Navigation

Coospo Bk8 Double Mode Speed And Cadence Sensor Youtube

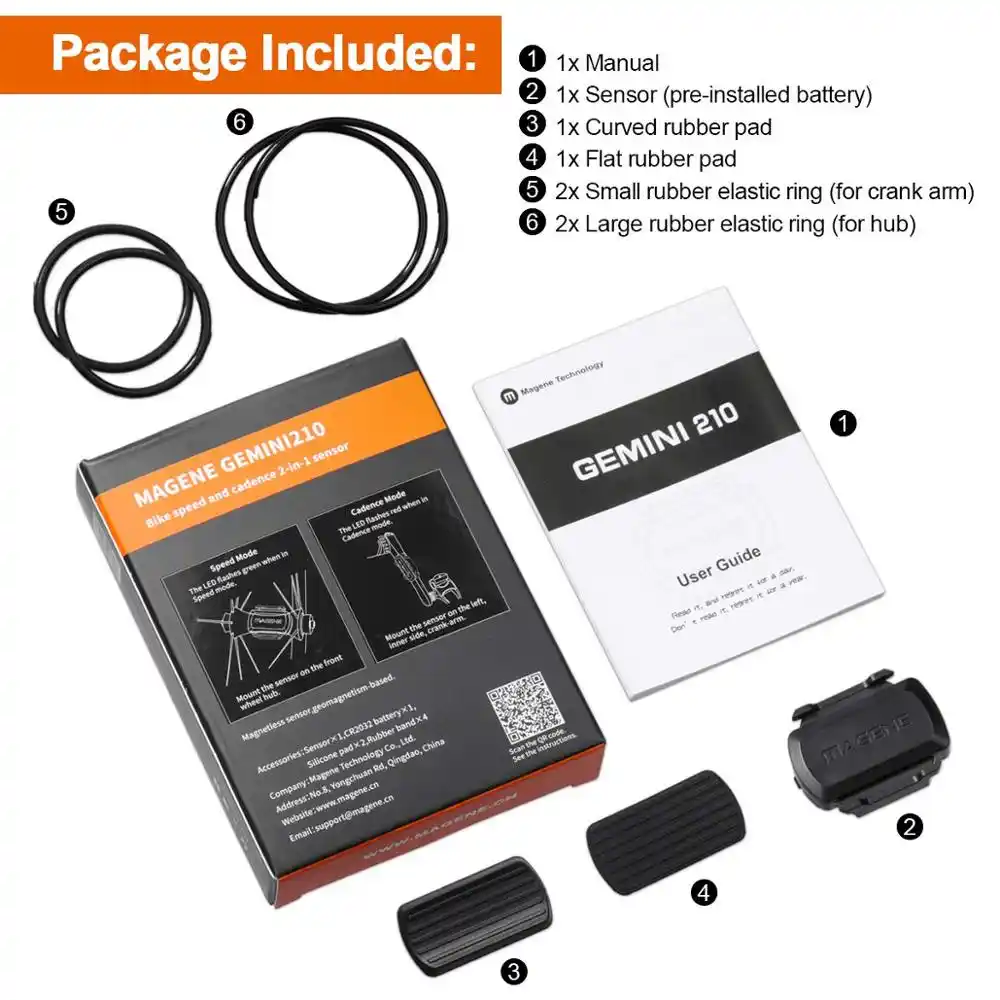
Magene Gemini200 Speed Sensor Cadence Ant Bluetooth For Strava Garmin Bryton Bike Bicycle Computer Bicycle Bike Cycling Helmet Strava

Directory Visual Communication Graphic Design Information Design Color System Wayfinding En Environmental Graphic Design Wayfinding Signs Signage Design

Cycling Gps Units Garmin Edge 200 Gps Enabled Bike Computer Certified Refurbished Click Image To Review More Details Bicycle Accessories Bike Gps Navigation

Edge 520 Replacing The Speed Sensor Or Cadence Sensor Battery

Garmin Speed Cadence Sensor Pairing With Fenix 2 010 12104 00 Youtube

Garmin Gsc 10 Speed Cadence Sensor One Color One Size By Garmin 43 10 The Garmin Gsc10 Is The Accessory You Need To Get Your F Bike Storage Rack Gps Navigation Cycling Bikes